Saturday, July 31, 2010

DIY rings, hair pins, and cases!

I used an old ring, cut it off and glued the bows on!
I used a old hair pin and embellished it with some eye candy
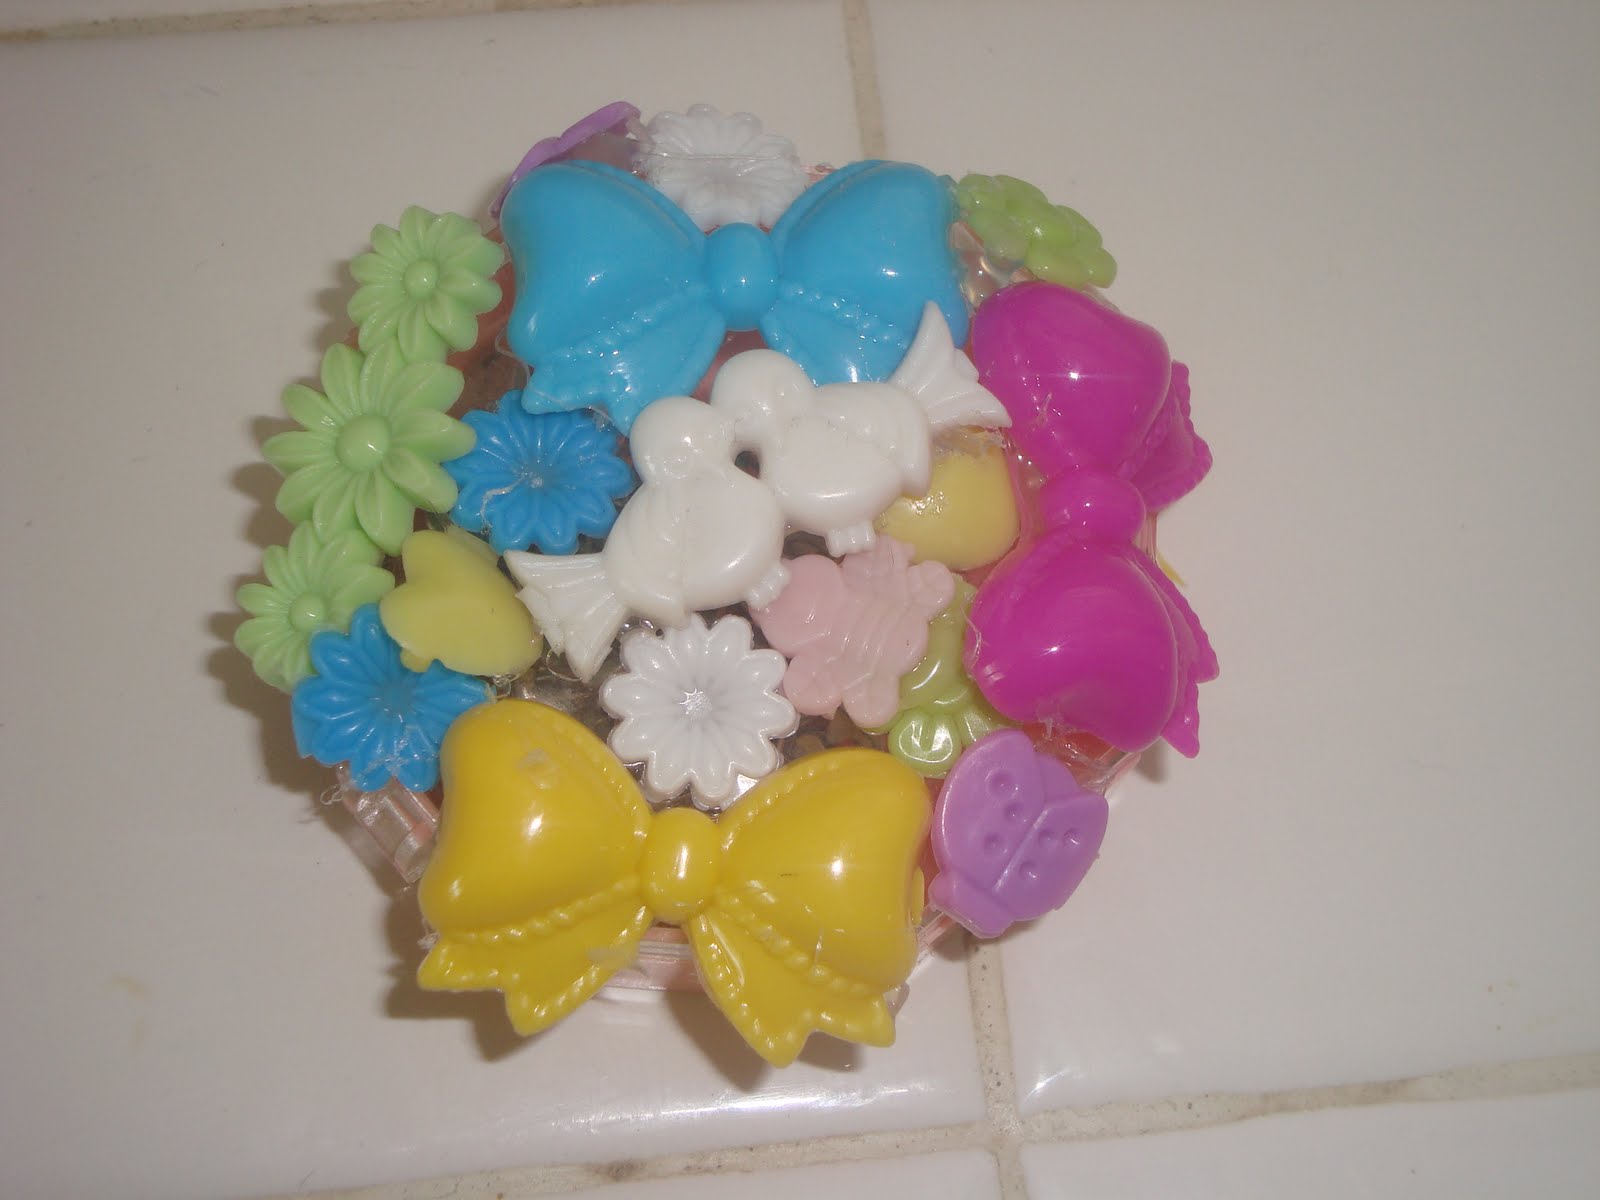


I used an old safety pin plastic container


SOOOO EASY!!!!!!!!


you will need;


-glue gun or super glue
-stuff to glue yor "stuff" onto


-"stuff" to glue on (I used Barrett's)


*just glue em on and let dry.... and that's it


Clay and Latte

On the way there in Dad's sweet ride


I went to the most precious cafe where you can paint ceramics!!!! It's just too cute and my new fav hangout! I painted a tea cup with a saucer. It's Tiffany's blue writing saying "let them eat cake" and has matching blue polka dots. The Tea Cup itself is pink. The saucer is reverse colors with reverse color polka dots! In the middle of the tea cup there is a tiny cupcake glued to the bottom!!! I can't wait to pick it up on Friday!!!!!!!!

camille rose garcia for alice in wonderland

I'm trippin on these....new tatt inspo???


Movie suggestions from miss hannah beth

*note the bitching bow finger tatt...sooo jealous


1. norma jean and marilyn -have not seen but looks amazing!!!


2. elephant-haven't ween this one either...looks dark and moody...love it


3. welcome to the doll house-one of my all time favs!


4. mister lonely-oooo I def have not caught this one but I will be sure too!


5. prozac nation-every young women should see this...it's like a right of passage!


Good Day Lovers


Well another day at home taking care of the pups....not to sure what I'm going to do just yet!? I need to give myself a pedie :/


I have already downed a giant divine Red Bull....I felt no effects....SCARY!


What Britt does it all the time and look at her now! HAHAHAH!
Last night I bought the most amazing puke/lime green nail polish and nail crystal/stickers/jewelry! ADORABLE! I'm way into 3d nail art, which is odd because I don't even like fake nails and think they are tacky in that hooker kinda way lol!


LADY GAGA COOKS???? SHE JUST KEEPS GETTING BETTER!!


* I want her sunnies!* *The cigg in her mouth sent a message to my brain saying "today could be a ciggy day???*


I just made myself some yummy eggs on a piece of flax seed toast and a buckwheat berry gluten free waffle with a little honey. You would think after the Red Bull I would have had enough caffeine, but no! I'm now enjoying some coffee...oppsies...teehee


Taylor and I went to the park this morning....he's too cute with that soccer ball :) It was nice and overcast....only Cali could have this perfect weather. I jammed to the Ipod and enjoyed the simplicity of just the act of being at the park. The grass was wet and dewy....people starting their days the healthy way.... animals waking and getting active....it was nice.....


My Dad once again said we were going to go to the ceramic painting place....I'm not going to get my hopes up like yesterday :( The kid's have a birthday party and Dad's guy is coming over to work on the car....it's a fat chance but would be fab if he followed through. I'm just dying to make myself a mug or something cute like a cupcake!!!!!!!


My new purchases!!! Bright nail polishes, 3d nail art, barrettes, hair bows, stick on crystals for my face and other body parts, and the most darling stripped sailor inspired tee dress!!! It was fun...the kids and I rode the bus to Walmart and bought goodies for ourselves :)

Ummm yeah....GENIUS! I want!!!


Friday, July 30, 2010

Miss Anita....A true muse

OH, how i adore you.......


DIY heart sunnies

I NEED to do a DIY on these heart sunnies...freakin adorable


DIY studded jeans


What you will need
-Jeans - studs - seam ripper - scissors - plyers
Cut your jeans into shorts, mine are long boy shorts. I made them come to above my ankles. You can make them any length that you feel goes with your style. Wash them after cutting them so they look raggy and frayed. Once yu have washed them flip the jeans over and use the seam ripper to pull out the tread on one side of each pocket. Once you have done this you can get your stud on. I only stud the part you can see. I did the front pockets as well but you don't need the seam ripper for those.


DIY Chanel sunnies

This is the easiest DIY ever!

What you will need is a pair of black sunglasses and white sticker letters. Peel off four of the "C" stickers and place them backwards. One minute later you have your own Chanel inspired glasses!

New YOUNG designer


Watch out Zac Posen and Karl Lagerfeld, there's a new designer in town and she's not only cutting edge, but she also has a line launching at Fred Segal and she's ONLY 10 YEARS OLD

DIY leather jacket


There is no right or wrong way to do this. What I used
Studs, plyers, different colored paints, leopard material scraps, paint brush, and scissors
1. First i studded the collar of the jacket
2. I started painting all over the jacket, with bands I like and random doodles. Once it has dried flip the jacket over and paint on the back.
3. After the paint is completely dry, take the plyers and scrap at it. This will make the paint crumble and chip.. to give it an old look.
4. I cut up some random scraps of leopard and sheer material and glued it on

80's dance party mix tape


power girl mixtape ment to inspire late nights, takeout dinners, 80s dress up partys, Pop Rock Candy, dancing infront of your bedroom mirror and dying your hair a drastic color.
1. Spinnerette-Ghetto Love
2. The Reflections- Romeo & Juliet
3. Le Fils De- Jacques Dutronc
4. The Temper Trap- Sweet Disposition
5. Raveonettes- Love in a Trashcan
6. Scanners- Bombs
7. Christine Delaro- Des Tigres Et Des Minets
8. T.Rex- 20th Century Boy
9. Peaches- Boys Wanna Be Her
10. The Ettes- Crown of Age
11. Anjulie-Boom
12. Plastiscines- Barcelona
13. Shampoo-Trouble
14. Creation- Making Time
15. Night Time- The Strangeloves
16. Strangeloves-I Want Candy

DIY...I really need to make a mood board

You printed out a bunch of photos, stocked up on glue and stickey notes and went to town. A Mood/Dream board is a place for you to put all your inspirations and dreams. Everything you want to happen and believe it will should be on your board. You need to place it somewhere you can see it everyday!


Disclaimer: You can not put anything negative on this board. Example: Instead of writing " I do not want to be sick anymore " You should write " I will be healthy and energetic"


This is a photo of Courtney Love's boar/wall...She makes them all the time :)
I do truly believe in the power of the law of attraction. It will be intretsing to look at my board six months or a year from now to see what I have manifested....I really need to make one ASAP!!!!!!

DIY flower head band

First what you will need is fake flowers, plyers, studs, chain, fabric, glue gun and some type of gems, pearls or embellishments.

You can use any color or style of fake flowers. I chose pink oversized daisys and little yellow buds. Pluck the flowers off the green plastic stems. You will need around 8 or 10 of them.

Cut a strip on fabric about an inch thick and fold it in half. It needs to be long enough to go around your head two times. Start placing a design with the flowers and glue gun them in place.
Once you have glued on enough flowers to fit around your head start embelishing. There is no right or wrong way to do this. You can do as little or as much as you want. You can have the natural look or glamed out style.

Now your ready to embrace your inner wild flower child!


DIY heart head band!

What you will need:
- Red Tulle
- wood heart box
- red paint
- red heart shaped gems
- Glue gun
-Paint brush
- red head band
1. Paint the lid of the heart box red and let it sit out to dry.
2. Glue the heart gems all over the top and sides of the heart lid.
3. Glue the heart box to the middle of the headband and hold it in place untll it drys.
4. Cut the tulle into strips and tie knots in the ends.
5. Take three strips and bunch them in the middle. Glue them on the side of the heart, this can be done many different ways depending on what look your trying to achieve.
6. Take the left over heart gems and glue them on the sides of the headband for some extra sparkle!