Showing posts with label DIY. Show all posts

Saturday, July 31, 2010

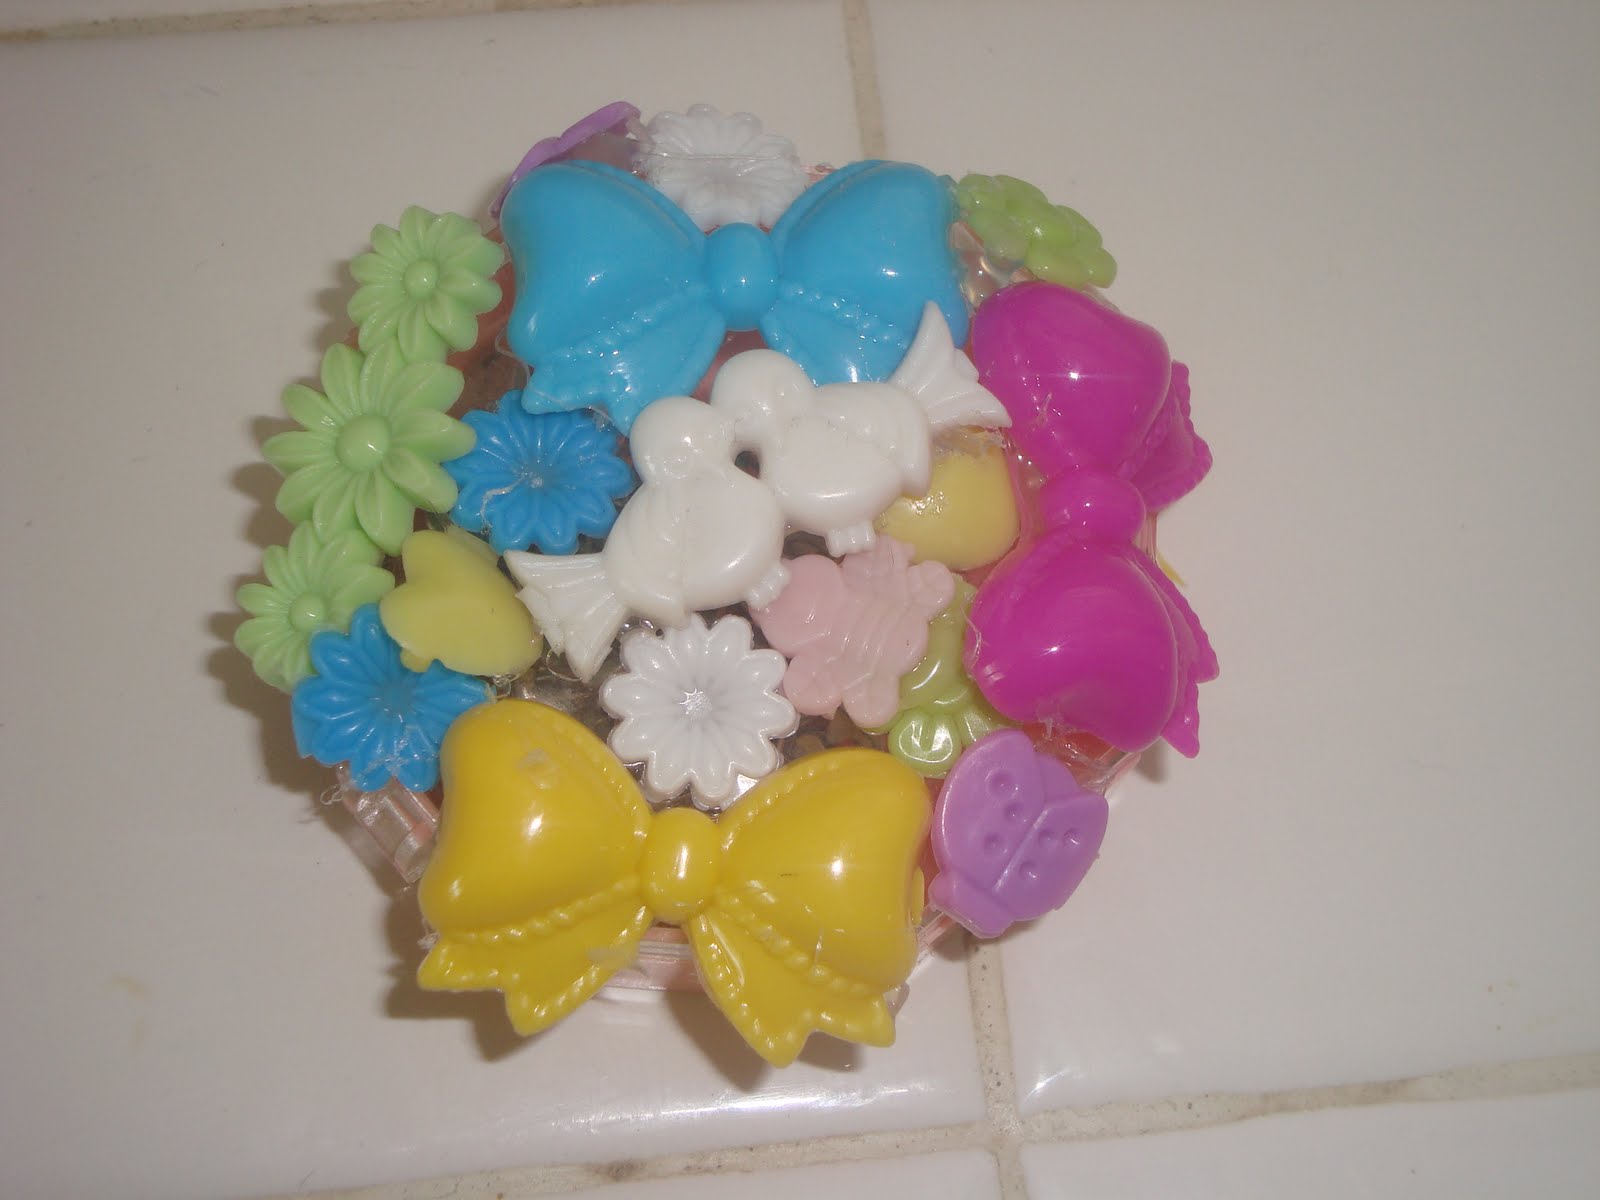
DIY rings, hair pins, and cases!

I used an old ring, cut it off and glued the bows on!
I used a old hair pin and embellished it with some eye candy


I used an old safety pin plastic container


SOOOO EASY!!!!!!!!


you will need;


-glue gun or super glue
-stuff to glue yor "stuff" onto


-"stuff" to glue on (I used Barrett's)


*just glue em on and let dry.... and that's it


Friday, July 30, 2010

DIY heart sunnies

I NEED to do a DIY on these heart sunnies...freakin adorable


DIY studded jeans


What you will need
-Jeans - studs - seam ripper - scissors - plyers
Cut your jeans into shorts, mine are long boy shorts. I made them come to above my ankles. You can make them any length that you feel goes with your style. Wash them after cutting them so they look raggy and frayed. Once yu have washed them flip the jeans over and use the seam ripper to pull out the tread on one side of each pocket. Once you have done this you can get your stud on. I only stud the part you can see. I did the front pockets as well but you don't need the seam ripper for those.


DIY Chanel sunnies

This is the easiest DIY ever!

What you will need is a pair of black sunglasses and white sticker letters. Peel off four of the "C" stickers and place them backwards. One minute later you have your own Chanel inspired glasses!

DIY leather jacket


There is no right or wrong way to do this. What I used
Studs, plyers, different colored paints, leopard material scraps, paint brush, and scissors
1. First i studded the collar of the jacket
2. I started painting all over the jacket, with bands I like and random doodles. Once it has dried flip the jacket over and paint on the back.
3. After the paint is completely dry, take the plyers and scrap at it. This will make the paint crumble and chip.. to give it an old look.
4. I cut up some random scraps of leopard and sheer material and glued it on

DIY...I really need to make a mood board

You printed out a bunch of photos, stocked up on glue and stickey notes and went to town. A Mood/Dream board is a place for you to put all your inspirations and dreams. Everything you want to happen and believe it will should be on your board. You need to place it somewhere you can see it everyday!


Disclaimer: You can not put anything negative on this board. Example: Instead of writing " I do not want to be sick anymore " You should write " I will be healthy and energetic"


This is a photo of Courtney Love's boar/wall...She makes them all the time :)
I do truly believe in the power of the law of attraction. It will be intretsing to look at my board six months or a year from now to see what I have manifested....I really need to make one ASAP!!!!!!

DIY flower head band

First what you will need is fake flowers, plyers, studs, chain, fabric, glue gun and some type of gems, pearls or embellishments.

You can use any color or style of fake flowers. I chose pink oversized daisys and little yellow buds. Pluck the flowers off the green plastic stems. You will need around 8 or 10 of them.

Cut a strip on fabric about an inch thick and fold it in half. It needs to be long enough to go around your head two times. Start placing a design with the flowers and glue gun them in place.
Once you have glued on enough flowers to fit around your head start embelishing. There is no right or wrong way to do this. You can do as little or as much as you want. You can have the natural look or glamed out style.

Now your ready to embrace your inner wild flower child!


DIY heart head band!

What you will need:
- Red Tulle
- wood heart box
- red paint
- red heart shaped gems
- Glue gun
-Paint brush
- red head band
1. Paint the lid of the heart box red and let it sit out to dry.
2. Glue the heart gems all over the top and sides of the heart lid.
3. Glue the heart box to the middle of the headband and hold it in place untll it drys.
4. Cut the tulle into strips and tie knots in the ends.
5. Take three strips and bunch them in the middle. Glue them on the side of the heart, this can be done many different ways depending on what look your trying to achieve.
6. Take the left over heart gems and glue them on the sides of the headband for some extra sparkle!


DIY stud doc's


This d.i.y is super easy and can make a normal staple in your closet a hell of a lot more fun. First and for most you need a pair of boots. They can be any color, new, old, vintage, or something you have in your wardrobe now.
A pair of plyers and some ribbon.


An assortment of studs. This is just personal preferance. I went with tiny pink circles, pearl studs and classic silver rounded spikes.

The best part about this d.i.y is that its as simple as it looks. Find a pattern you like or just scatter the studs all over the boots. Make sure you clamp the back of them so that they stay in place. Once your done you can change out the shoe laces for any type of string or ribbon to finish them off!

DIY jap phone inspired


Its pretty self explanatory, you create a design by glueing them all around the case. Then use smaller tiny beads to fill in all the empty areas until the entire case is full! Make sure you glue them on well so your not leaving a Hansel & Gretel trail of plastic sparkles where ever you go!
ps...I can't wait till I have a cell to try this out lol!!!

DIY chanel tee

You can create your own Chanel shirt at home and its kinda really easy!
Materials: Any white shirt, Chanel logo (download: here), black Sharpie, scissors, newspaper, painters tape, small paintbrush and black acrylic paint.


Step 1: Print out the logo on paper, cut out the black part of the logo so you’ll be left with the negative image. Tape the paper on your white t-shirt.


Step 2: With a Sharpie, carefully line the inside of the logo. Before doing so, insert newspaper underneath the shirt to prevent the pen and paint from bleeding to the back of your shirt!

Step 3: With your black acrylic paint, carefully paint the inside of the logo. Try not to use a lot of water as you don’t want to dilute the ink.

ste4: now rock it!

DIY marc Jacobs mouse shoes!

Don't have $300 laying around for these beautiful Marc Jacobs mouse shoes? Don't worry I found this rad tutorial showing step by step how to make your own!
1. Gather supplies. Felt, needle & thread, craft glue, and shoes, of course. I used these cute old comfy flats, I got them for $5 from a thrift store.
2. Cut out 4 felt ear shapes, and 4 smaller ear shapes in a contrasting colour. Glue the smaller ear pieces to the larger ones, as shown.
3. Sew a couple of stitches in the bottom corner of the ears, attaching them to the shoe. This is just to hold them in place and secure them a little better. Then fold the ear over and put a little craft glue on it, sticking it down. I attached a little bow on one ear of each of mine.

4. Cut out 4 white eyes & 4 black circles to make the pupils. I also cut out two pink triangles to make noses.

DIY...Knee Highs


alternative? Make them yourrselves. Here's what to do:
1. Take a pair of heavy wool or cotton socks
2. Buy packs of sequins and beads from your local craft store, Keep the color palette tight - silvers, rose-golds, very light pinks, black, and clear baubles only. 3. Break out a needle and thread, and gently sew the sequins in clusters. Make sure you don't sew anything on the sock's foot, or you won't be able to walk!4. Wear them around. Make people jealous. You know the drill.